Cyanotype Printing and Toning for Beginners
- Alternative Processes

- Jun 19, 2024
- 2 min read
Updated: Jun 27, 2024
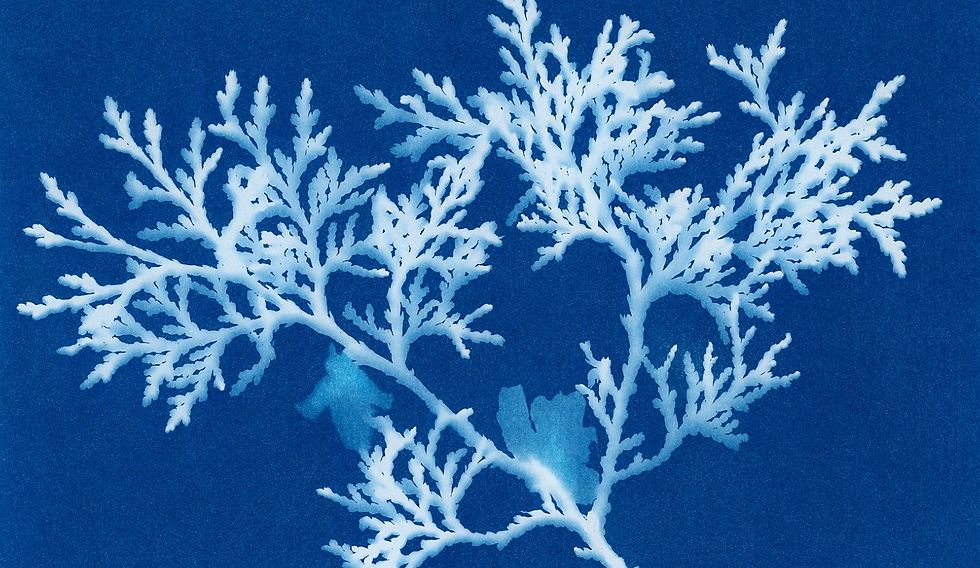
Cyanotype printing, an enchanting and accessible photographic technique, has captivated artists and photographers since its invention in 1842 by Sir John Herschel. Known for its rich, cyan-blue prints, cyanotype is an excellent starting point for beginners interested in alternative photography methods. This guide will walk you through the basics of cyanotype printing and introduce the fascinating process of cyanotype toning.

What is Cyanotype Printing?
Cyanotype printing is a contact printing process that produces stunning blue and white images using UV light and two simple chemicals: ferric ammonium citrate and potassium ferricyanide. Here’s a step-by-step guide to get you started with cyanotype printing:

Materials Needed for Cyanotype Printing
Ferric ammonium citrate (green)
Potassium ferricyanide
Distilled Water
Watercolor paper
A brush for coating
UV light source (sunlight or a UV lamp)
Negatives or objects like dried leaves
Two plastic or glass containers
Process:
Mix 25 grams of ferric ammonium citrate with 100 ml of water to create Solution A.
Mix 10 grams of potassium ferricyanide with 100 ml of water to create Solution B.
Combine equal parts of Solution A and Solution B to make the cyanotype sensitizer.


Coating the Paper for Cyanotype Printing
In a dimly lit room, use a brush to apply the mixed sensitizer evenly onto your paper. Let it dry completely in the dark.

Exposing the Cyanotype Print
Place your negative or objects on the sensitized paper under a heavy sheet of glass
Expose the setup to UV light. Exposure times can vary from a few minutes under a UV lamp to 10-20 minutes in direct sunlight.

Developing the Cyanotype Print
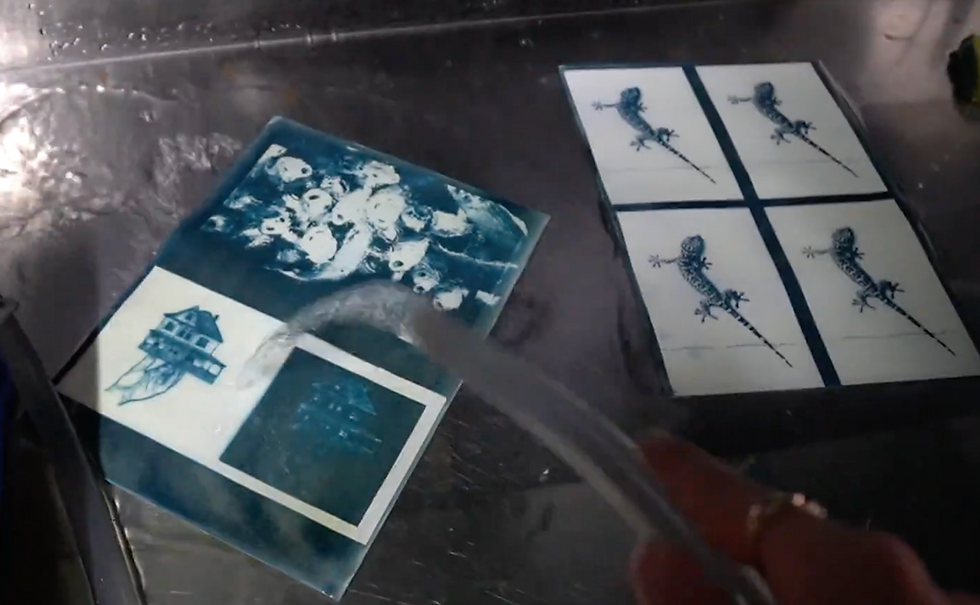
Rinse the exposed paper under running water for about 5-10 minutes until the unexposed areas turn white and the blue intensifies.
Let your print dry completely.

Introduction to Cyanotype Toning
Cyanotype toning is an exciting way to add variety and depth to your cyanotype prints. By using different toning agents, you can transform the signature blue hue into a range of colors, including brown, black, purple, and sepia. Here’s a basic introduction to cyanotype toning:
Materials Needed for Cyanotype Toning
Toning agents (tea, coffee, tannic acid, or other natural substances)
Water
Containers for soaking the prints
Basic Cyanotype Toning Process
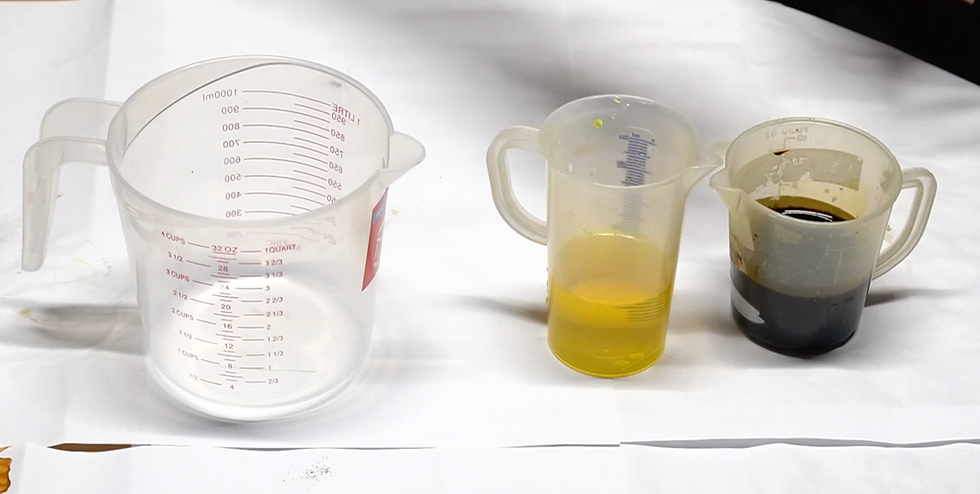
Prepare the Toning Bath: Brew a strong solution of your chosen toning agent (e.g., tea or coffee) and let it cool.
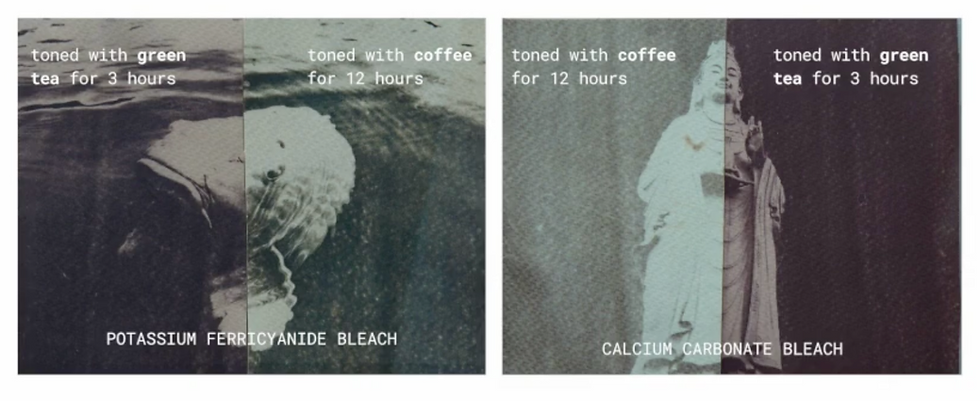
Soak the Print: After developing and drying your cyanotype print, immerse it in the toning bath. The longer you leave it, the more intense the color change.
Rinse and Dry: Rinse the toned print thoroughly in water to remove any residual toning agent, then let it dry.

Experimenting with Cyanotype Toning
Each toning agent and method will yield different results. Experiment with different substances and concentrations to discover the wide range of possibilities in cyanotype toning.
Tips for Successful Cyanotype Printing and Toning
Consistent Coating: Apply the sensitizer evenly to avoid streaks and uneven development.
Controlled Exposure: Monitor exposure times carefully to prevent over or underexposure.
Quality Water: Use distilled water if possible to avoid impurities affecting your prints.
Protective Gear: Always wear gloves and work in a well-ventilated area when handling chemicals.


how to introduce other colors? beet juice or turmeric water?